Do you ever feel regret about putting unused veggies or vegetable trimmings in the city compost? At Project CHEF we believe food is much too important to waste. If you have a little patio garden, it might be time to try a worm bin to make your own compost. Put those veggie scraps to work and make what we gardeners call, black gold.
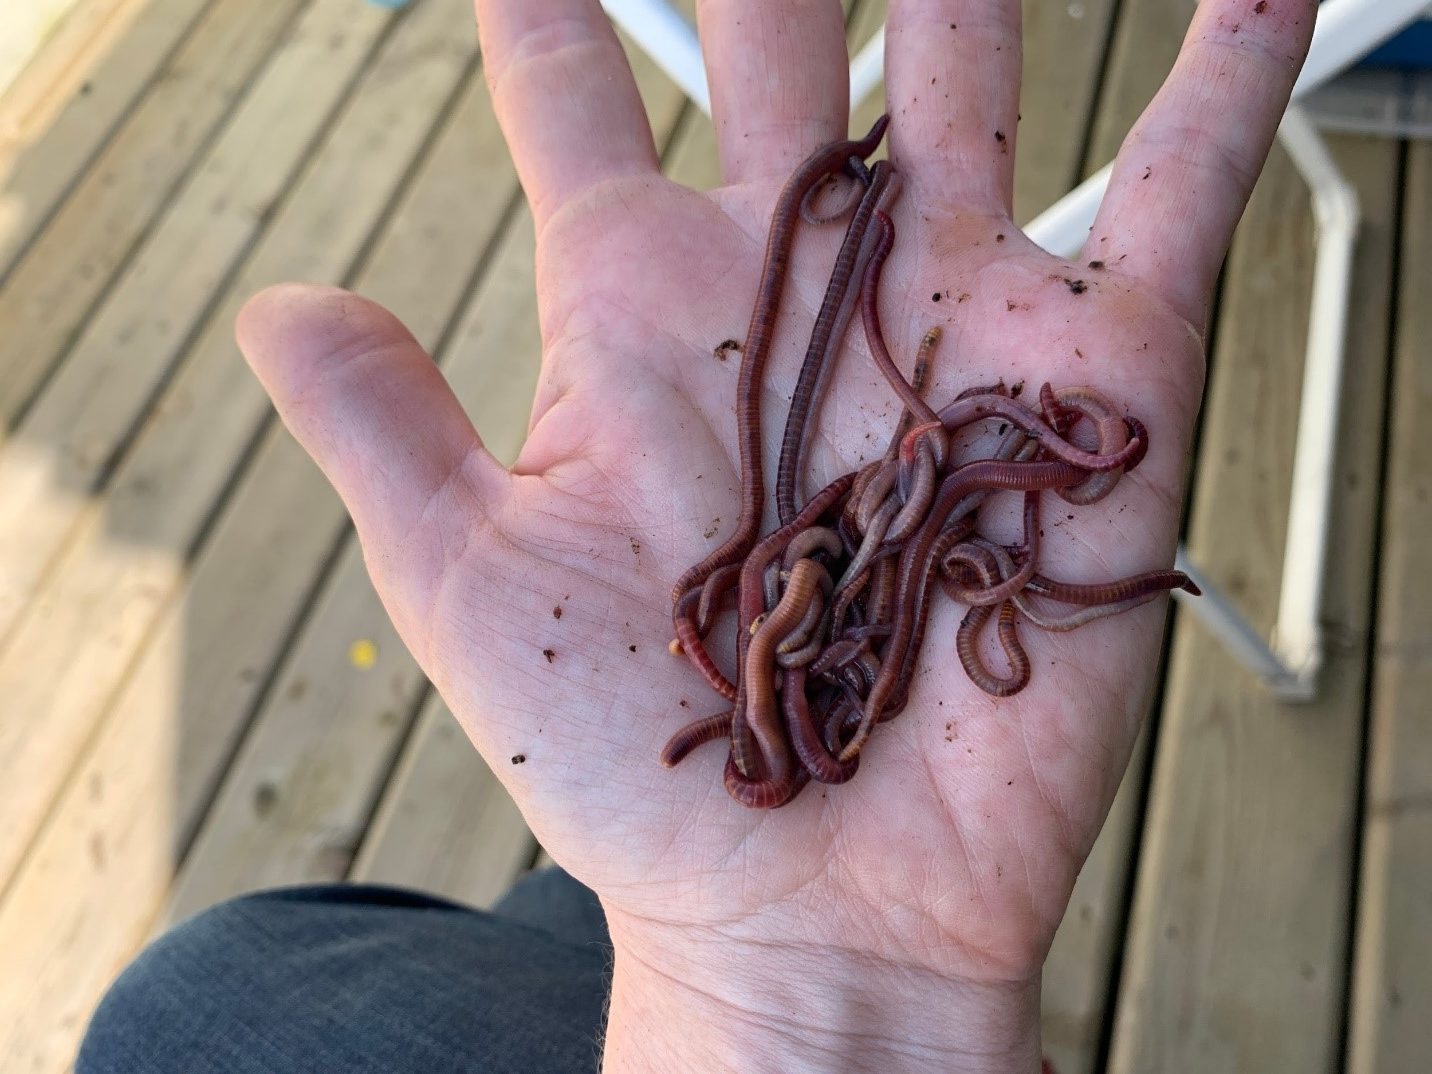
Meet my red wigglers – the gardener’s sweet soil-making friends. Their poop makes my garden thrive. Good soil is alive, teeming with micro-organisms and vermicompost (worm compost). Talk to any organic grower and they will say, “care for the soil and the rest takes care of itself.”
Caring for a worm bin is quite easy. Unlike compost, it doesn’t smell, as long as you don’t overfeed them. Therefore, you can even keep a small bin under the kitchen sink. You only need to feed them once a week and they don’t need much else. As a longtime friend of worms, I can honestly say that I have made some mistakes in the past. One time, I left them on the balcony and their bin flooded in the rain. All the worms were escaping in panic. So, if you do undertake this task, remember, you are responsible for these creatures. They will depend on your care even if it is minimal.


If you are growing herbs or veggies, there will be a point when your plants need to eat. They may start to look a bit yellower and they might stop growing. These are signs that they are malnourished. Balcony gardens especially require our care in feeding and watering plants because the roots can’t go searching beyond the walls of the pot.
The tea made from worm castings is a remarkable vitamin juice for plants. You will marvel at what a difference it makes in your garden. With worm castings, a little goes a long way.

Still not sure about this worm idea? Let me share some of their wonder.

- Worms have 5 hearts. That’s a lot of love.
- They don’t bite. These gentle creatures have a mouth but no teeth and they can still eat half their weight in a single day! They aren’t actually eating the food, but the bacteria within and around it.
- Without lungs, they breathe through their skin which has to be moist for them to breathe.
- They move using microscopic little hairs on their segments (and it tickles).
- Last fun fact: They are social. They feel safest curled around in a squirm of worms. Cool, right?
HOW TO MAKE A WORM BIN
EQUIPMENT
- A plastic tote with a lid (opaque is best because they like the dark; as small as 15cm x24cm x30cm but most people use a large storage tote or rubbermaid)
- An extra lid to fit underneath as a drip tray (optional)
- A drill, nail or awl to punch air holes
- Bedding materials: coconut coir and shredded paper
- Grit: a bit of soil from the yard or even potting soil
- Veggie Scraps: fresh bits that are diced or shredded work best (no onion, citrus, bread, or grease)
- Red Wigglers:
- Ask around! Many compost bins at school and community gardens have thriving populations they can spare.
- Find a local red wiggler supplier.
INSTRUCTIONS
STEP 1: A place to live

To start your own worm bin, you will need a shady cool place to keep them. They prefer 15-22 degree temperatures, so they thrive indoors in winter but can survive outside in a protected place.

Punch air holes into the lid or upper sides of your bin or tote. You may like to punch holes in the bottom as well and put a tray underneath in case your bin gets a too wet. The liquid that collects on this tray is NOT worm tea. It’s anaerobic so the bacteria in it is not good for plants. If you get the right balance in your worm bin, you don’t need these holes.
STEP 2: Feeding Guidelines

Put some diced or shredded food in one corner (less than you think). The smaller the pieces, the more quickly the worms can break it down. On the left (pictured) is fibrous leftovers from the juicer and on the right is the amount used for a full week with an established colony. Bury it under the bedding to prevent fruit flies.
Feeding Tip: When you first introduce worms to a new environment, they need some time to get going. A pound of worms might eventually go through a pound or two of your scraps in a week, but start slow with about ¼ cup of food.
STEP 3: Add Worms

Add the worms as well as the compost they came with to the bin or tote. Here, we are moving the colony to a bigger bin, therefore transferred castings with the worms.
TIP: I harvested some castings to use for my plants while transferring. An easy way to harvest castings but keep the worms is to open your bin. Leave the worms in the light and they will travel down into the dark. Then you can take the castings from the top layer and keep your worms on the farm. Never take more than a third.
STEP 4: Keep Moist & Warm

Give them a blanket to keep them warm and moist. Add damp coconut coir (not soaking wet), a scoop of soil or potting mix. Worms need a bit of grit to digest. Next, cover with damp newspaper. You can see the layers here. Remember, worms need moisture to breath.
Leave your bin in a shady warm place until next week when you feed them again. Check to see if any food is left over and adjust. Add less if there is still food. Add the new food to a different corner, so you can see if they go through it all. Avoid overfeeding.
Happy Growing!


Over the next few months, watch for signs that your bin is in balance. Check for small orange-yellow eggs worms only reproduce when the conditions are good. Have any other critters moved in? Other critters are welcome and healthy unless they are parasites attached to the worm bodies. Do you smell a sweet soil smell? Do you notice crumble-textured castings? The castings below are too slimy because I needed to add more bedding–specifically coconut coir with fine bits like the food I have been giving them. If you see worms trying to escape by crawling up the sides, or if there is a bad smell, then something is out of balance and you need to make some adjustments. Otherwise, let the black gold grow.
Curriculum Connections

Science


