Salad greens we grow ourselves are phenomenal! Why do they taste so different? In a word, freshness. We have seen it time and time again in schools, kids who start out “allergic” to greens soon become salad green lovers by tasting all the different flavours of greens they are cooking with in the classroom, some even from their school garden. If you don’t try growing anything else with us this season from home, try one pot of salad greens. From seed to plate in a bit more than a month, the satisfaction can’t be beat.
At Project CHEF, we grow as much lettuce as we can in the smallest space possible so that we can harvest a salad from our garden every week. We grow in succession, which means every week or two, we plant a new batch of seeds. We grow a combination of baby greens, seeded closely (about every 3 cm across the full surface) and then harvest in a clear cut fashion called: Cut and Come Again. We like to have a combination of colours and textures for a touch of beauty.


In the picture above, you can see three timelines. The top planted first, two weeks later the middle bottom, and 4 weeks later, the two pots on the side were seeded.
We also grow Butterleaf and Romaines as head lettuce. These take longer to grow (60 days) and need more space. They will be transplanted into pots about 5 cm apart and when they start to crowd each other. We will harvest every other plant in a first wave. Those remaining will grow to a medium size, and then the last 4 – 5 heads will grow to full size. So, in this case, all the freckled heads might come out first, leaving a zigzag pattern of plants across the pot to keep growing.
Our favourite Cut and Come Again seed varieties from West Coast Seeds
- Salad Bowl & Simpson Elite: Sweet, green and never fail. Seen in many farm mixes.
- Freckles, Oaky Red Splash, Merlot: Sweet AND colourful
- Mizuna, Arugula, Red Russian Kale, Tah Tsai: Spicy mustards, fast and grow well in partial shade.
- Baby Bright Lights Chard: Earthy flavour with bright red and yellow stems. Slower to grow.
First harvest of the season
Planted on Mar 31 and harvested May 10


Arugula around the outside, and in the middle reddish Mizuna and a few spikey Red Russian Kale leaves. Grown in about 6 weeks in partial shade in the early part of the season. Plants grow faster in mid-summer when we have more daylight hours.
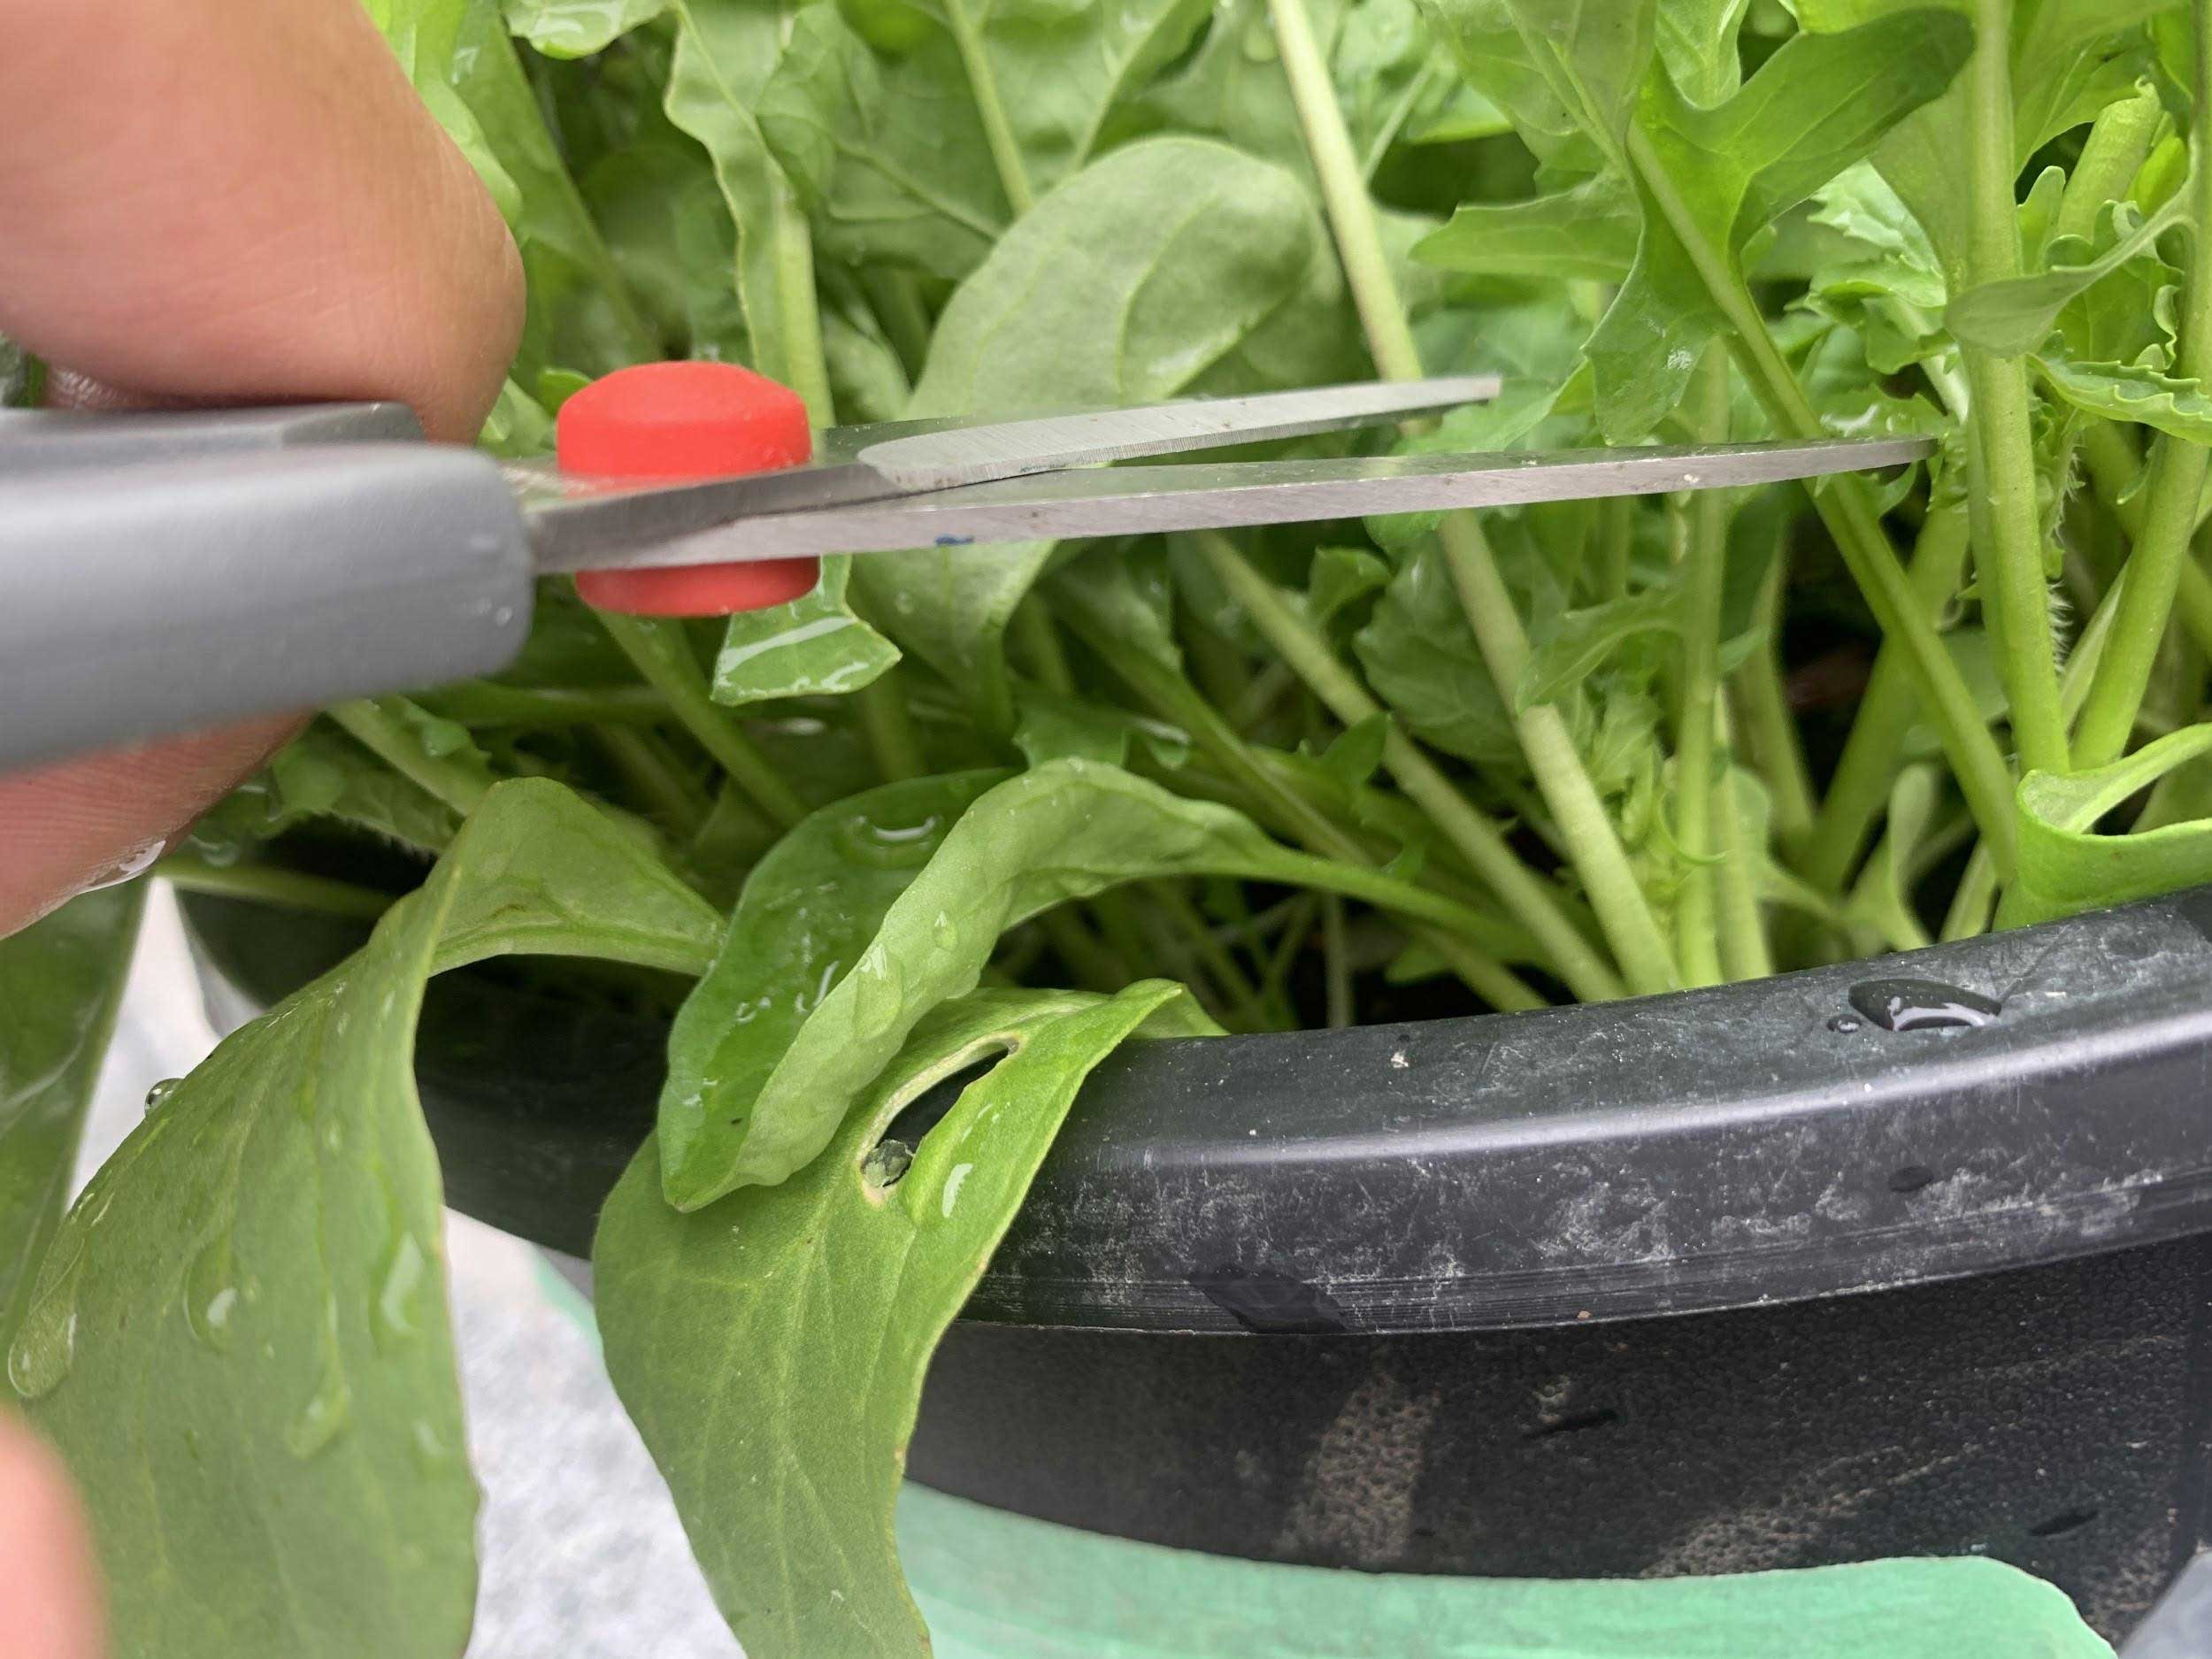
Harvesting
When the plants are 10 cm high, or crowding each other in the pot, it’s time to harvest. Small leaves taste delicious but to get the most out of your harvest, you need to find a balance. If you look inside at the center of each plant, you will see little baby new leaves known as the crown of the plant. When you harvest, cut the outside leaves above the crown. If you cut too low, you won’t get another harvest.
TIP: Harvest on a cloudy day or before the first light of day for the sweetest lettuces. When the sun hits the leaves and they start to photosynthesize, they also get a bitter flavour.

After the harvest
We can see the crowns of each plant. Try trimming out any stems left in the pot to make it look clean and tidy. Put your freshly harvested bag of lettuce greens in the fridge right away. Wash it just before eating. Delish! Then, let it grow and harvest again in 1 week – 10 days.
Ready to give it a try?
ACTIVITY INSTRUCTIONS

EQUIPMENT LIST
- A container/ pot (12 – 15 cm deep is sufficient for lettuce roots)
- Potting Soil and Compost Mix (2:1)
- Seeds
- Space with approximately 6 hours of sunlight
Tip: if your pot space has less than 6 hours of sunlight, try Chois, Mustards and Kales.
- Watering Can
INSTRUCTIONS
STEP 1: Prepare your pots


Fill with damp potting soil and compost mix, leaving about 4 – 6 cm to the top.
Reused pots: Before planting, it is very important to sanitize first! Unwanted bacteria or diseases from the previous plants could still be lurking. Wash them with soap and water, then sanitize with a bleach solution spray (1Tbsp bleach: 4 litres water).
***If your pots are very deep, fill the bottom with empty containers to save on potting soil. We chose these pots for the wide surface area (30cm).
STEP 2: Planting Seeds

Put your seeds on the surface of the soil about 2 fingers-width between each seed. These seeds are impossibly small so take care. Try pinching a few seeds between your index finger and thumb, then roll your fingers to drop the seed as you move my hand. Cover with a very light sprinkle of soil and pat it into place. Lettuce is germinated by light so it needs to be near the surface. The general rule for planting seeds: Plant 1.5 – 2 times the diameter of the seed below the surface.
STEP 3: Watering

Water daily until they sprout and then every other day. If you keep your varieties in different rows or separate pots, you can easily harvest according to its speed of growth.
STEP 4: Harvest

In 4 – 6 weeks, they should be ready to harvest. Harvest, and then grow them again 1 – 2 more times. Taste them! They start to get a little bitter by the third harvest. See if you can notice the difference. Stay tuned for a new recipe with our favorite Project CHEF salad dressing!
TIP

Try scattering lettuce seeds around the base of other plants, like tomatoes. They will be ready to harvest when the tomato is big enough to need the space. Watch them grow and record your observations in your food journal. See our Potato Activity 2 for inspiration on recording.
Curriculum Connections

Science